www.jb-electronics.de » Elektronik » Nixie-Röhren » Nixies fotografieren
Nixies fotografieren
Dieser Artikel ist zur Zeit nur auf Englisch vorhanden: Link
www.jb-electronics.de » Elektronik » Nixie-Röhren » Nixies fotografieren
Dieser Artikel ist zur Zeit nur auf Englisch vorhanden: Link
www.jb-electronics.de » Electronics » Nixie Tubes » How to photograph Nixie tubes
Photographing Nixie tubes, believe it or not, can become a big part of collecting Nixie tubes. I honestly never quite liked it because I felt that the resulting pictures failed to be on par with the real-life experience: the colors were faded, sometimes there was something off with the focus, the light, the shadows, and the glowing neon on the photos never looked like it did in real life.
Now for me, personally, this was not a problem: I can just look at my Nixie tubes in real life. But what about the other people I want to show the Nixie tubes to? It sure would be nice to find a better way to photograph Nixie tubes.
With help from Giorgio Basile (see his impressive website here) I took my first steps towards improving the quality of my Nixie tube photos in mid 2018. Now, as I am typing these lines, it is half a year later and I am still not entirely satisfied with the quality of my pictures. However, I do believe that the quality is decent enough to justify me writing this article for others who want to take nice(r) pictures of their Nixie tubes.
I organized this article as follows: for the impatient, at the beginning I will concisely describe the steps I now follow to take nice-ish pictures. Further below I will reflect on my previous attempts (spanning a time period of about 12 years) and I will describe a few selected photographs and explain why the result was not so good.
To begin with, I set myself a budget of around $150. With photography it is easy to spend a lot of money rather quickly, so I tried to be as resourceful as possible. The following is what I consider a bare minimum for Nixie tube photography (except for the camera, of course):
The camera tripod is necessary to adjust the camera to a stable position, the concrete choice is up to you. I got one with angle adjustment as well as a few built-in levels (which I both never use). With the camera safely adjusted, it is now important to fix the Nixie tube: for that I decided to go very basic. For each socket type I simply transfer the pin locations to a piece of cardboard, glue a piece of paper on top, and then punch hole in it. Here you can see a few of these templates:
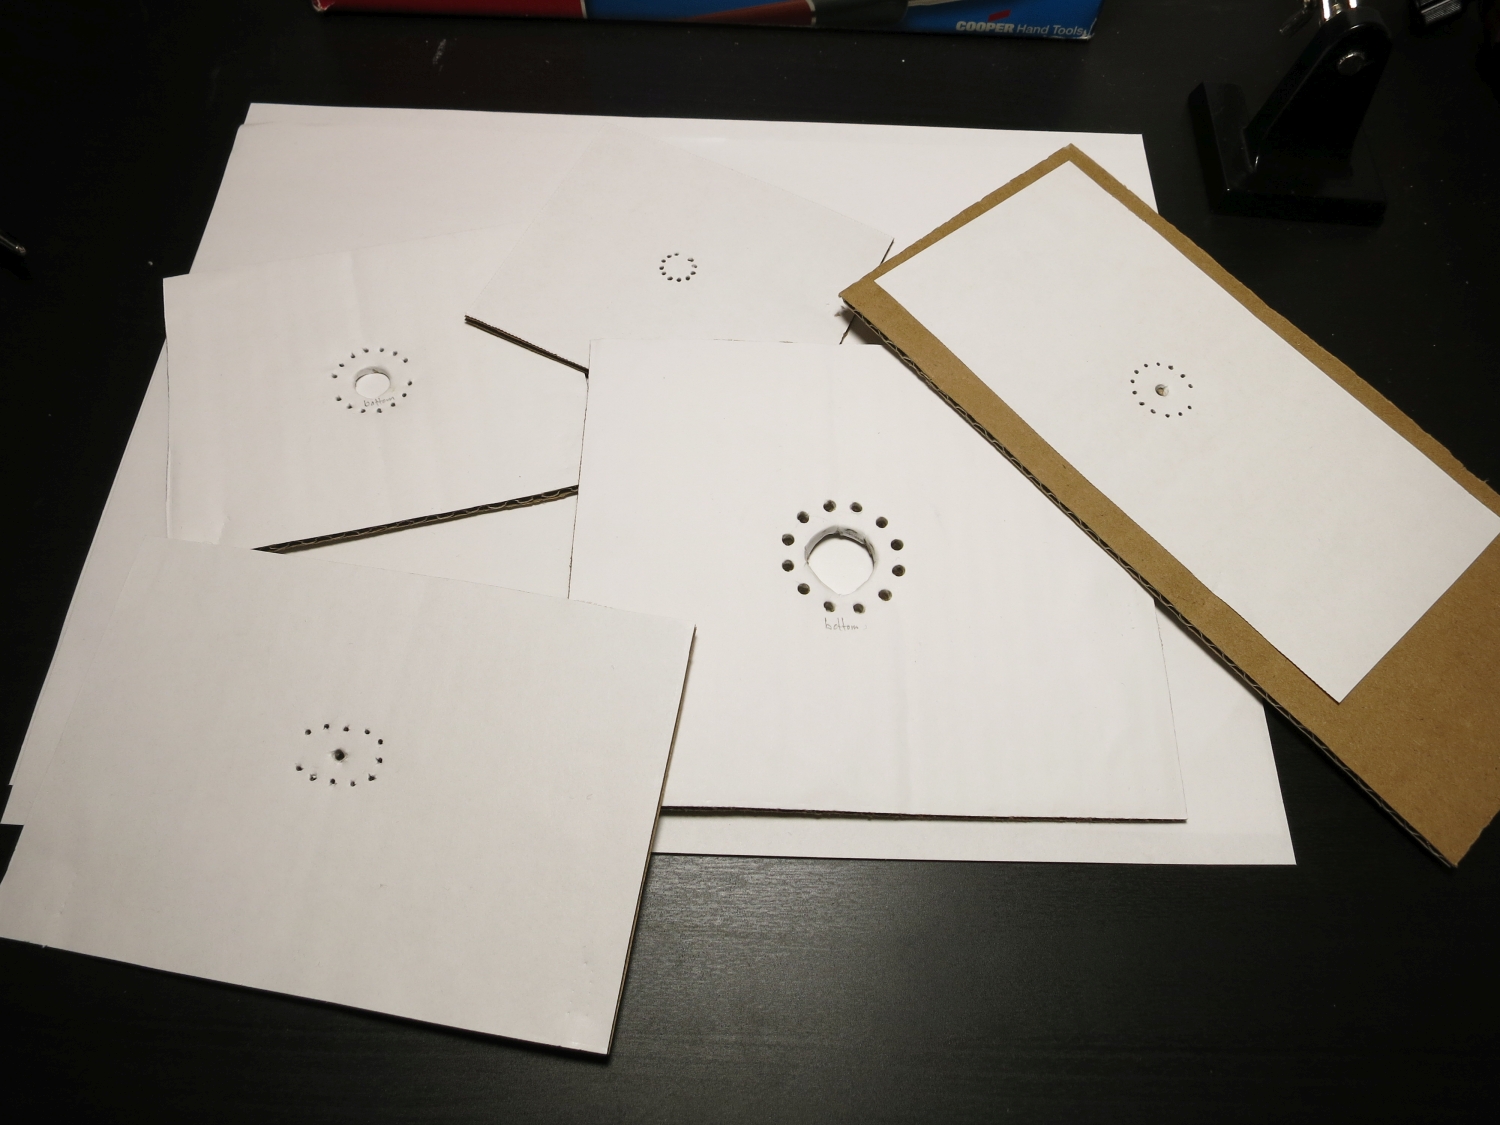
I have seen a few people CNC these out of ABS or use plywood. I actually think cardboard is the better alternative: it is free, in case you damage it you can just make another one, and the cardboard guarantees a snug fit of the tube's pins into the template. This last property makes cardboard much superior I believe. In order to hold these cardboard templates in place I make use of simple “helping hand” tools (the cheap ones with the magnifying glass, they cost around $7 each). Again, they are easy to obtain and quite versatile because all the joints on these can be disassembled and moved around.
OK, now we have the camera and tube in place. In order to establish an electrical connection to all the pins one might be tempted to use double-sided alligator clips, which I used to do before. This is not very convenient because the clips themselves are too wide and do not always allow simultaneous connection to all pins. This is very important, however: when we actually take pictures (see below) we do not want to touch the tube anymore because we might distort the angle. Therefore it is absolutely paramount to connect all pins reliably before the shoot. What I found most useful is a combination of (used) micrograbbers used with digital oscilloscopes and logic analyzers. They have a very small footprint, and one can purchase connecting wires (sometimes referred to as “Dupont wires”) that can be simply plugged into the grabbers:
As you can see in the pictures below it is rather simple to connect all pins, even for a tightly spaced socket layout:
Now it is a good time to make sure all wires are connected properly and everything lights up as intended:
I simply connect the end of the Dupont wires to double-ended alligator clips. Perhaps it would be nice to add a rotary switch or some mechanical contraption to switch between active wires, but in practice this takes a while to set up and it is sometimes just easier to do it by hand. Sometimes it is difficult to walk the line between convenience and comfort.
Now that the tube is in place (and all wires are connected properly, check this!) we have to adjust the angle properly. See these two pictures:
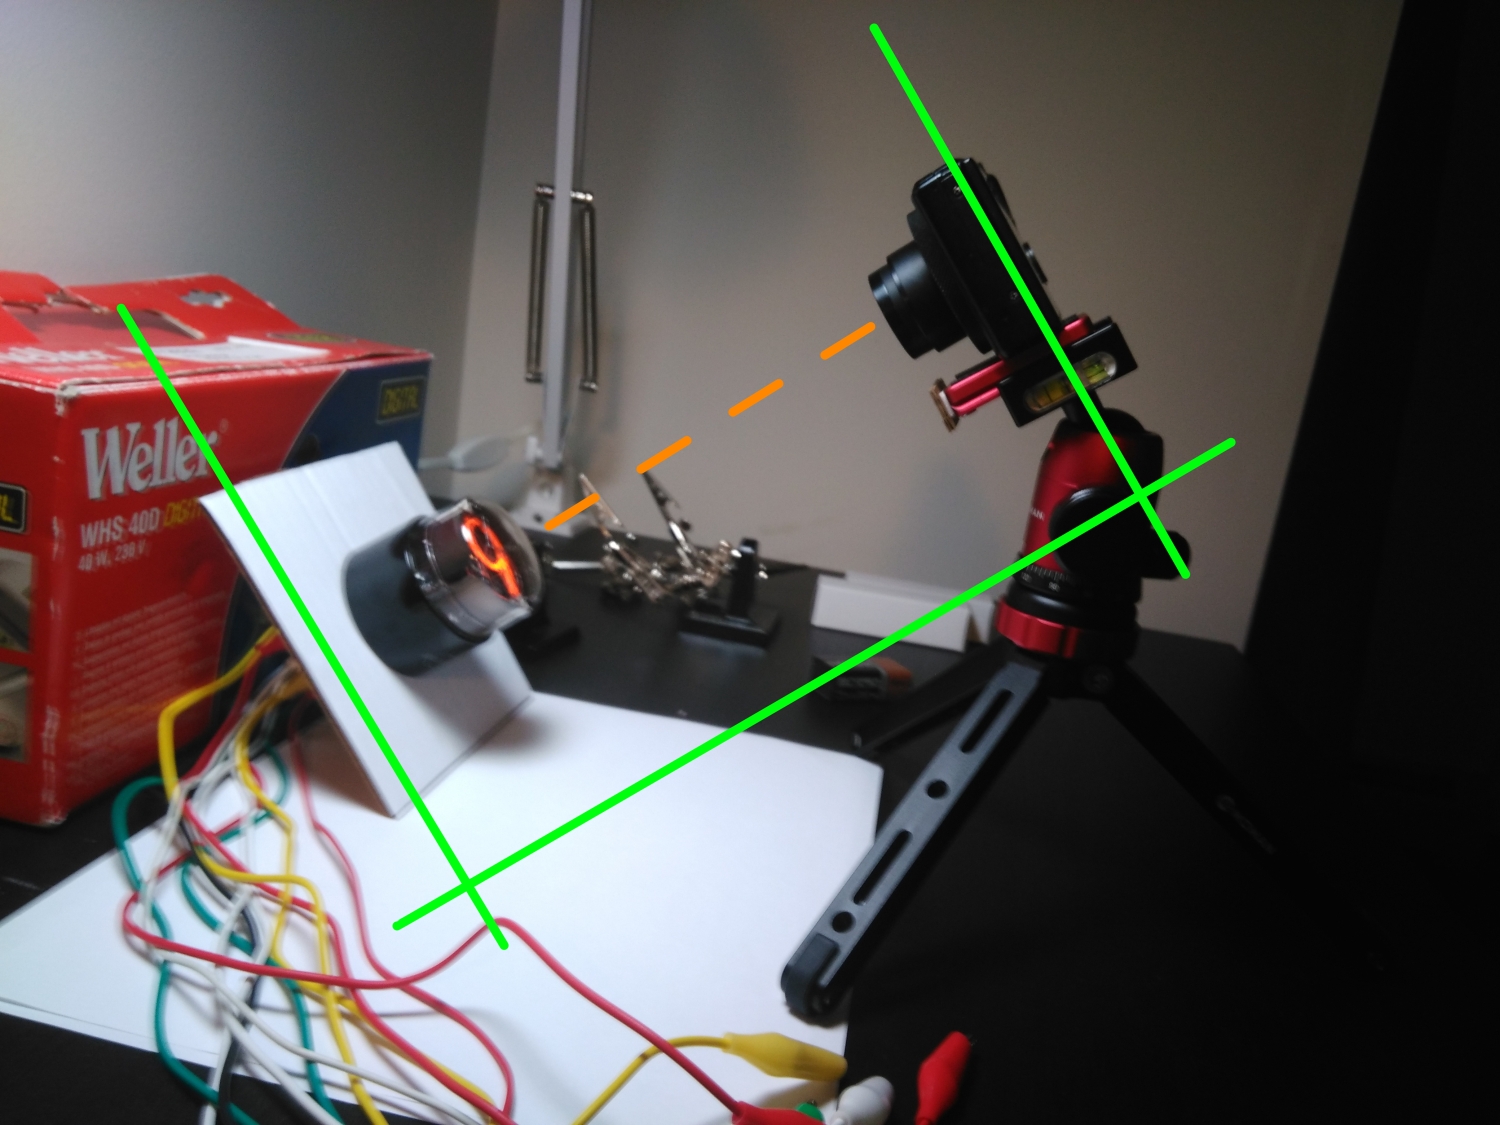
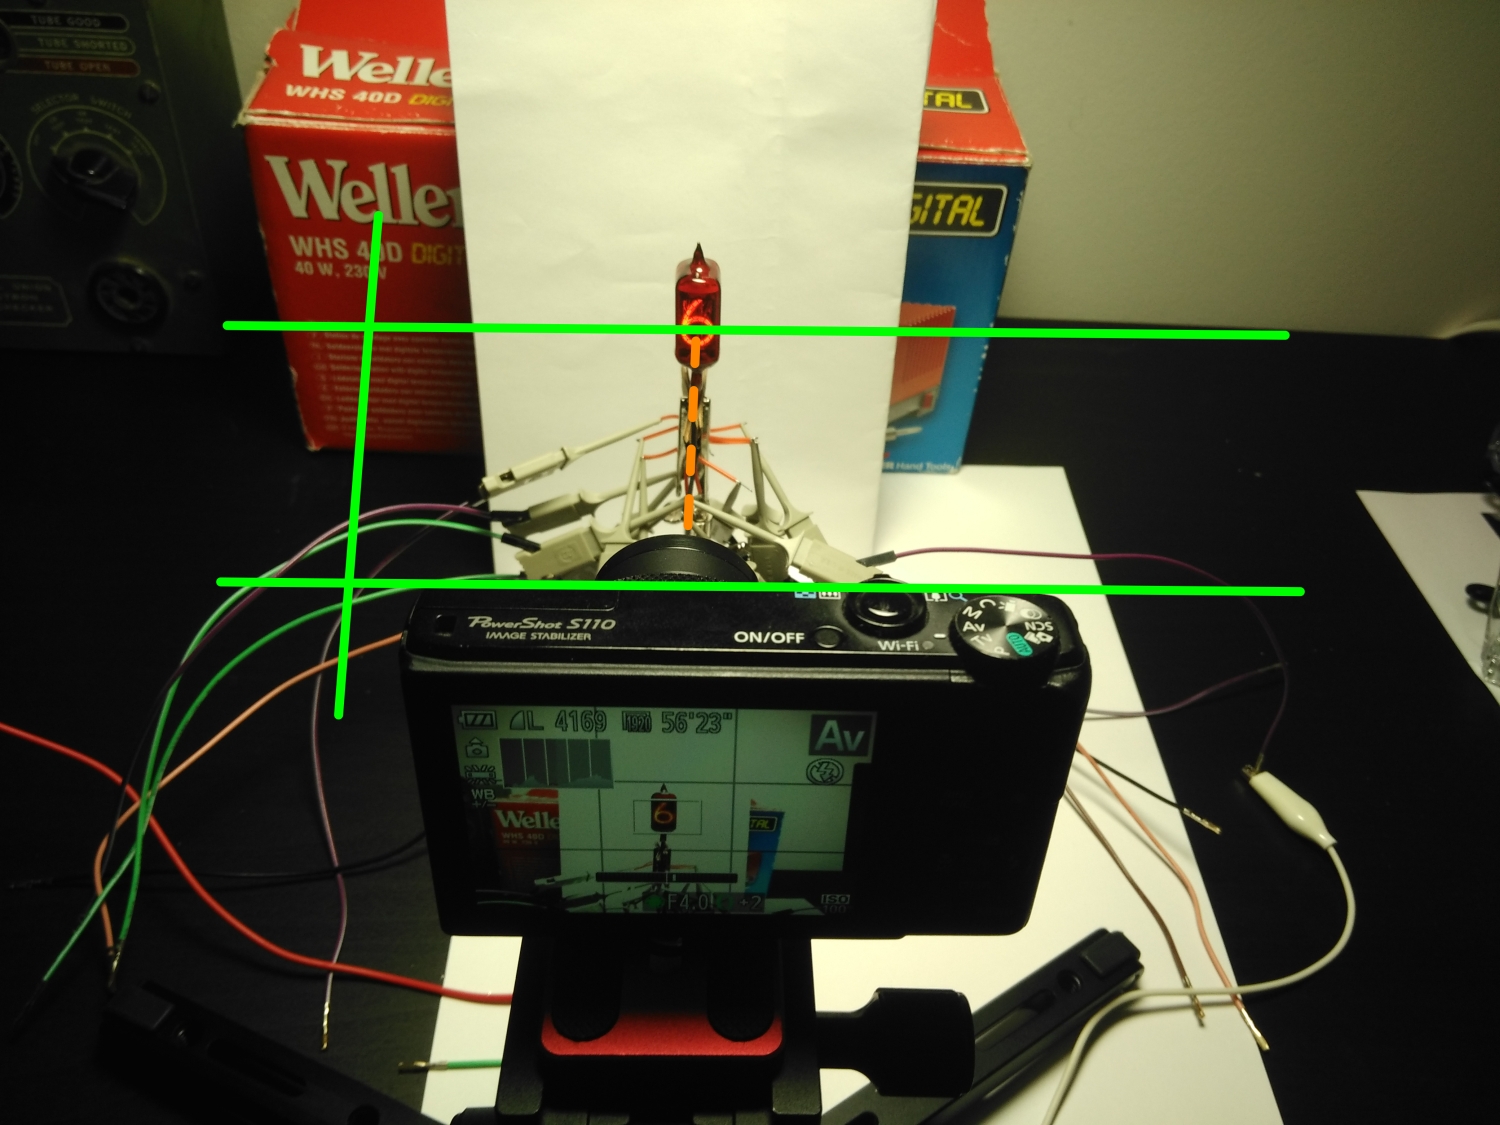
The green lines should be reasonably perpendicular to make sure we actually photograph the Nixie tube face-on. It is easy to check once set up, but it is also easy to forget. Try not to!
Lastly, and most importantly, we have to adjust the lighting. I always do this last when everything is set up. It is also the most difficult piece of photography for me, so it doesn't hurt to do this last when there is nothing else left to take care of. I use a simple no-frills work lamp with a daylight LED light bulb inside. Some people might prefer a warm LED instead, but I think the daylight bulb gives a better-looking result that runs more true to real life.
You have to find a good distance of the light bulb to the Nixie tube. This may vary depending on the size of the tube and whether or not the tube's glass bulb is coated red or transparent. Quite frankly, I am not aware of any recipe that always works. Also, in this simple setup, there will be reflections of the light bulb on the Nixie tube's surface. I personally don't mind this, because, after all, they are made of glass, and glass reflects stuff, but it can make the setup slightly difficult.
Here is a typical spacing of the lamp over the Nixie tube:
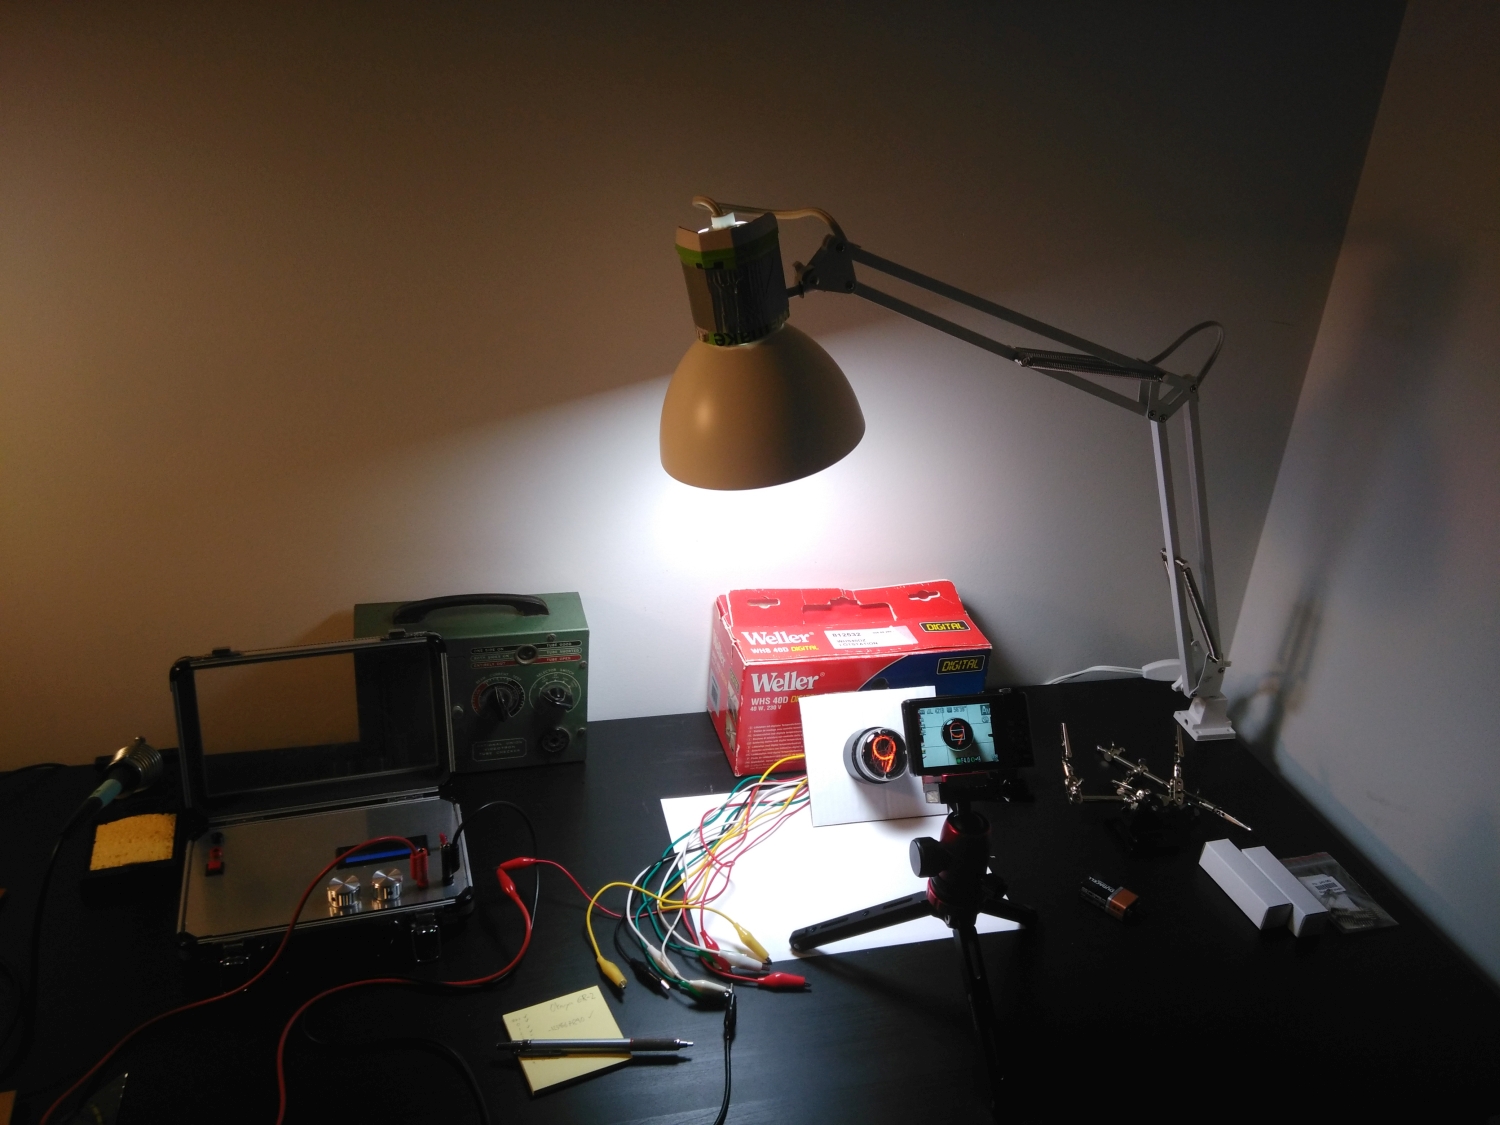
I always make sure that I place the Nixie tube in such a way that I can still comfortably move the lamp to either side of it for maximum flexibility. There is a shadow cast by the Nixie tube, but sometimes you can make your own diffuser/reflector using folded-up pieces of regular white office paper. In the case above I decided against it because the black housing of the Nixie tube would reflect these reflectors and that ended up looking worse than a tiny shadow. But every Nixie tube is different, so: use your best judgement.
Here are two more examples:


This basically covers the mechanical part of the setup. As I figure out new useful details I will list them here.
I am not an expert, which is why I follow some instructions I found online. Please contact me if anything on here is particularly nonsensical, I would appreciate it. Here are some general tips:
I considered buying all of the below items at some point, but I am glad that I didn't:
Finally, here is a simple check list that I follow when taking pictures of my Nixie tubes. I think of it as a Nixie tube 'mission go' checklist. It really works.
In what follows I list a few of the photos I have taken in the last 12 years. They come with an approximate photo number. Apparently I have taken over 17,000 photos of Nixie tubes over the years. Oh well.

Photo #1. Good: almost nothing. I guess the focus is not horrible. Bad: shadows are inconvenient, background is dirty and positioned in a way that makes it difficult to crop the image.

Photo #4698. Good: interesting angle, almost no reflection. Bad: horrible white balance, it is blue!
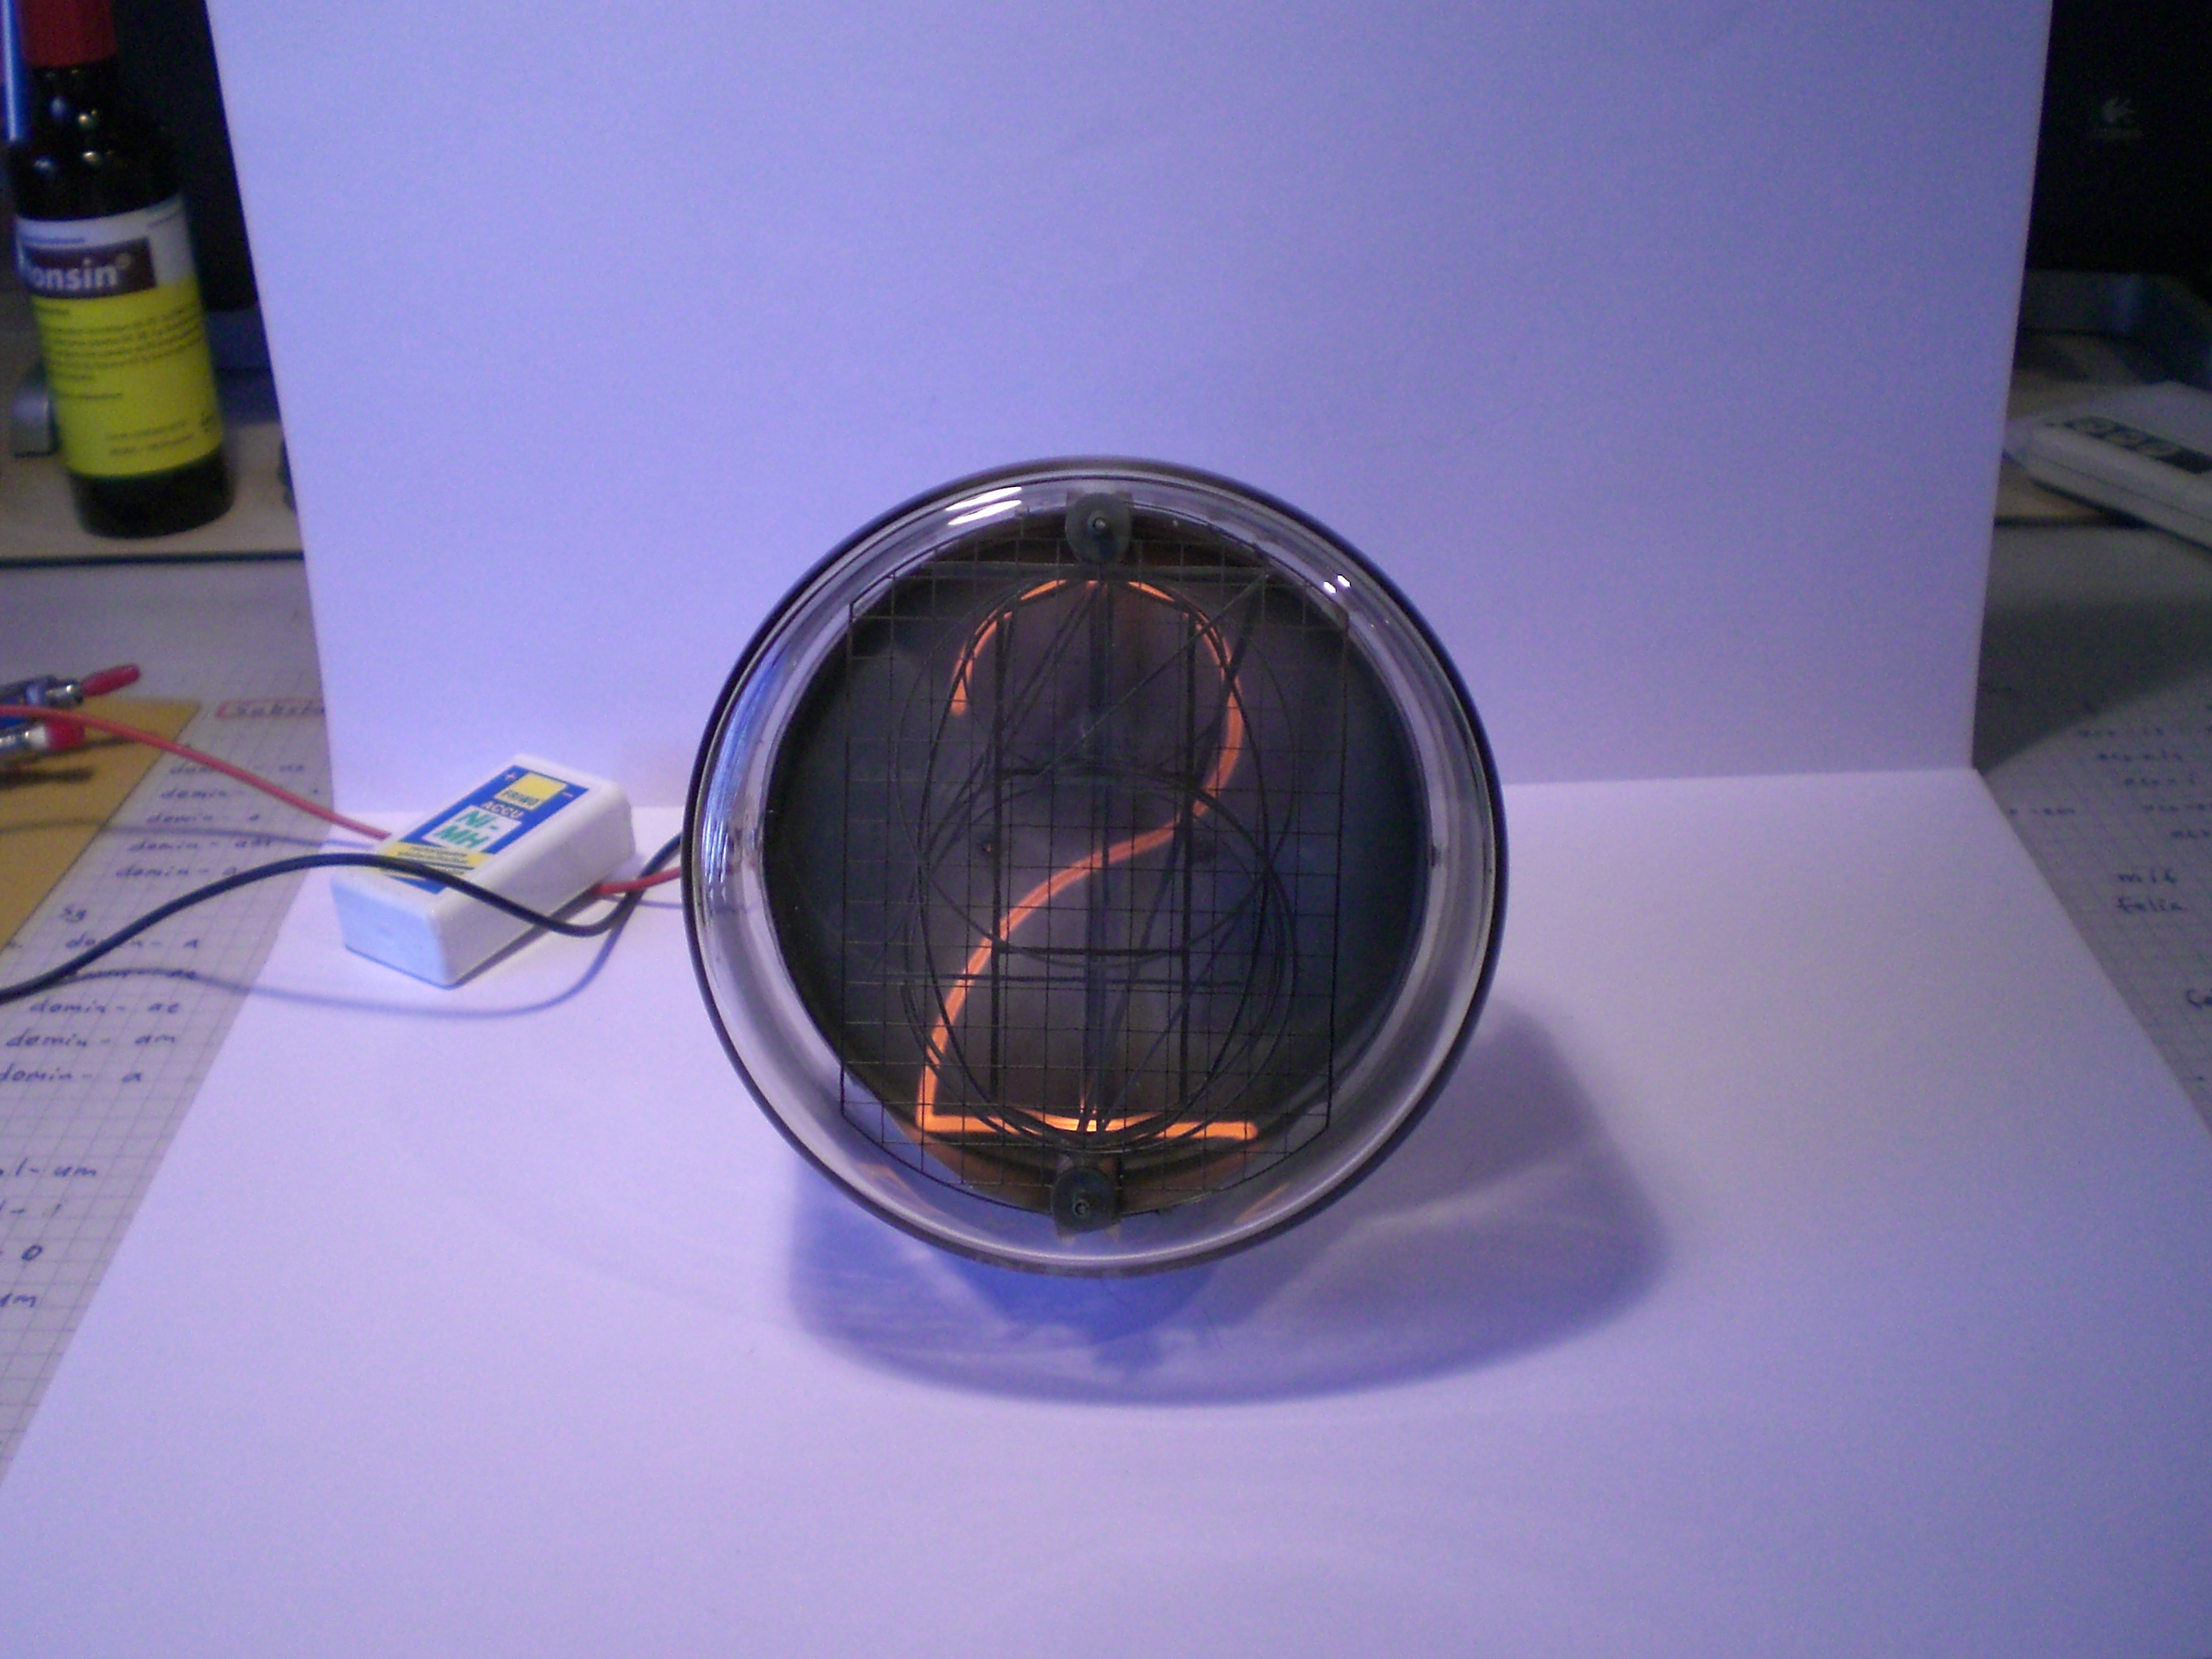
Photo #4957. Good: angle almost spot on. Bad: again, a horrible white balance: it is blue!

Photo #5038. Good: almost no reflection, neon looks almost perfect. Bad: much too gray, somehow a very low saturation.
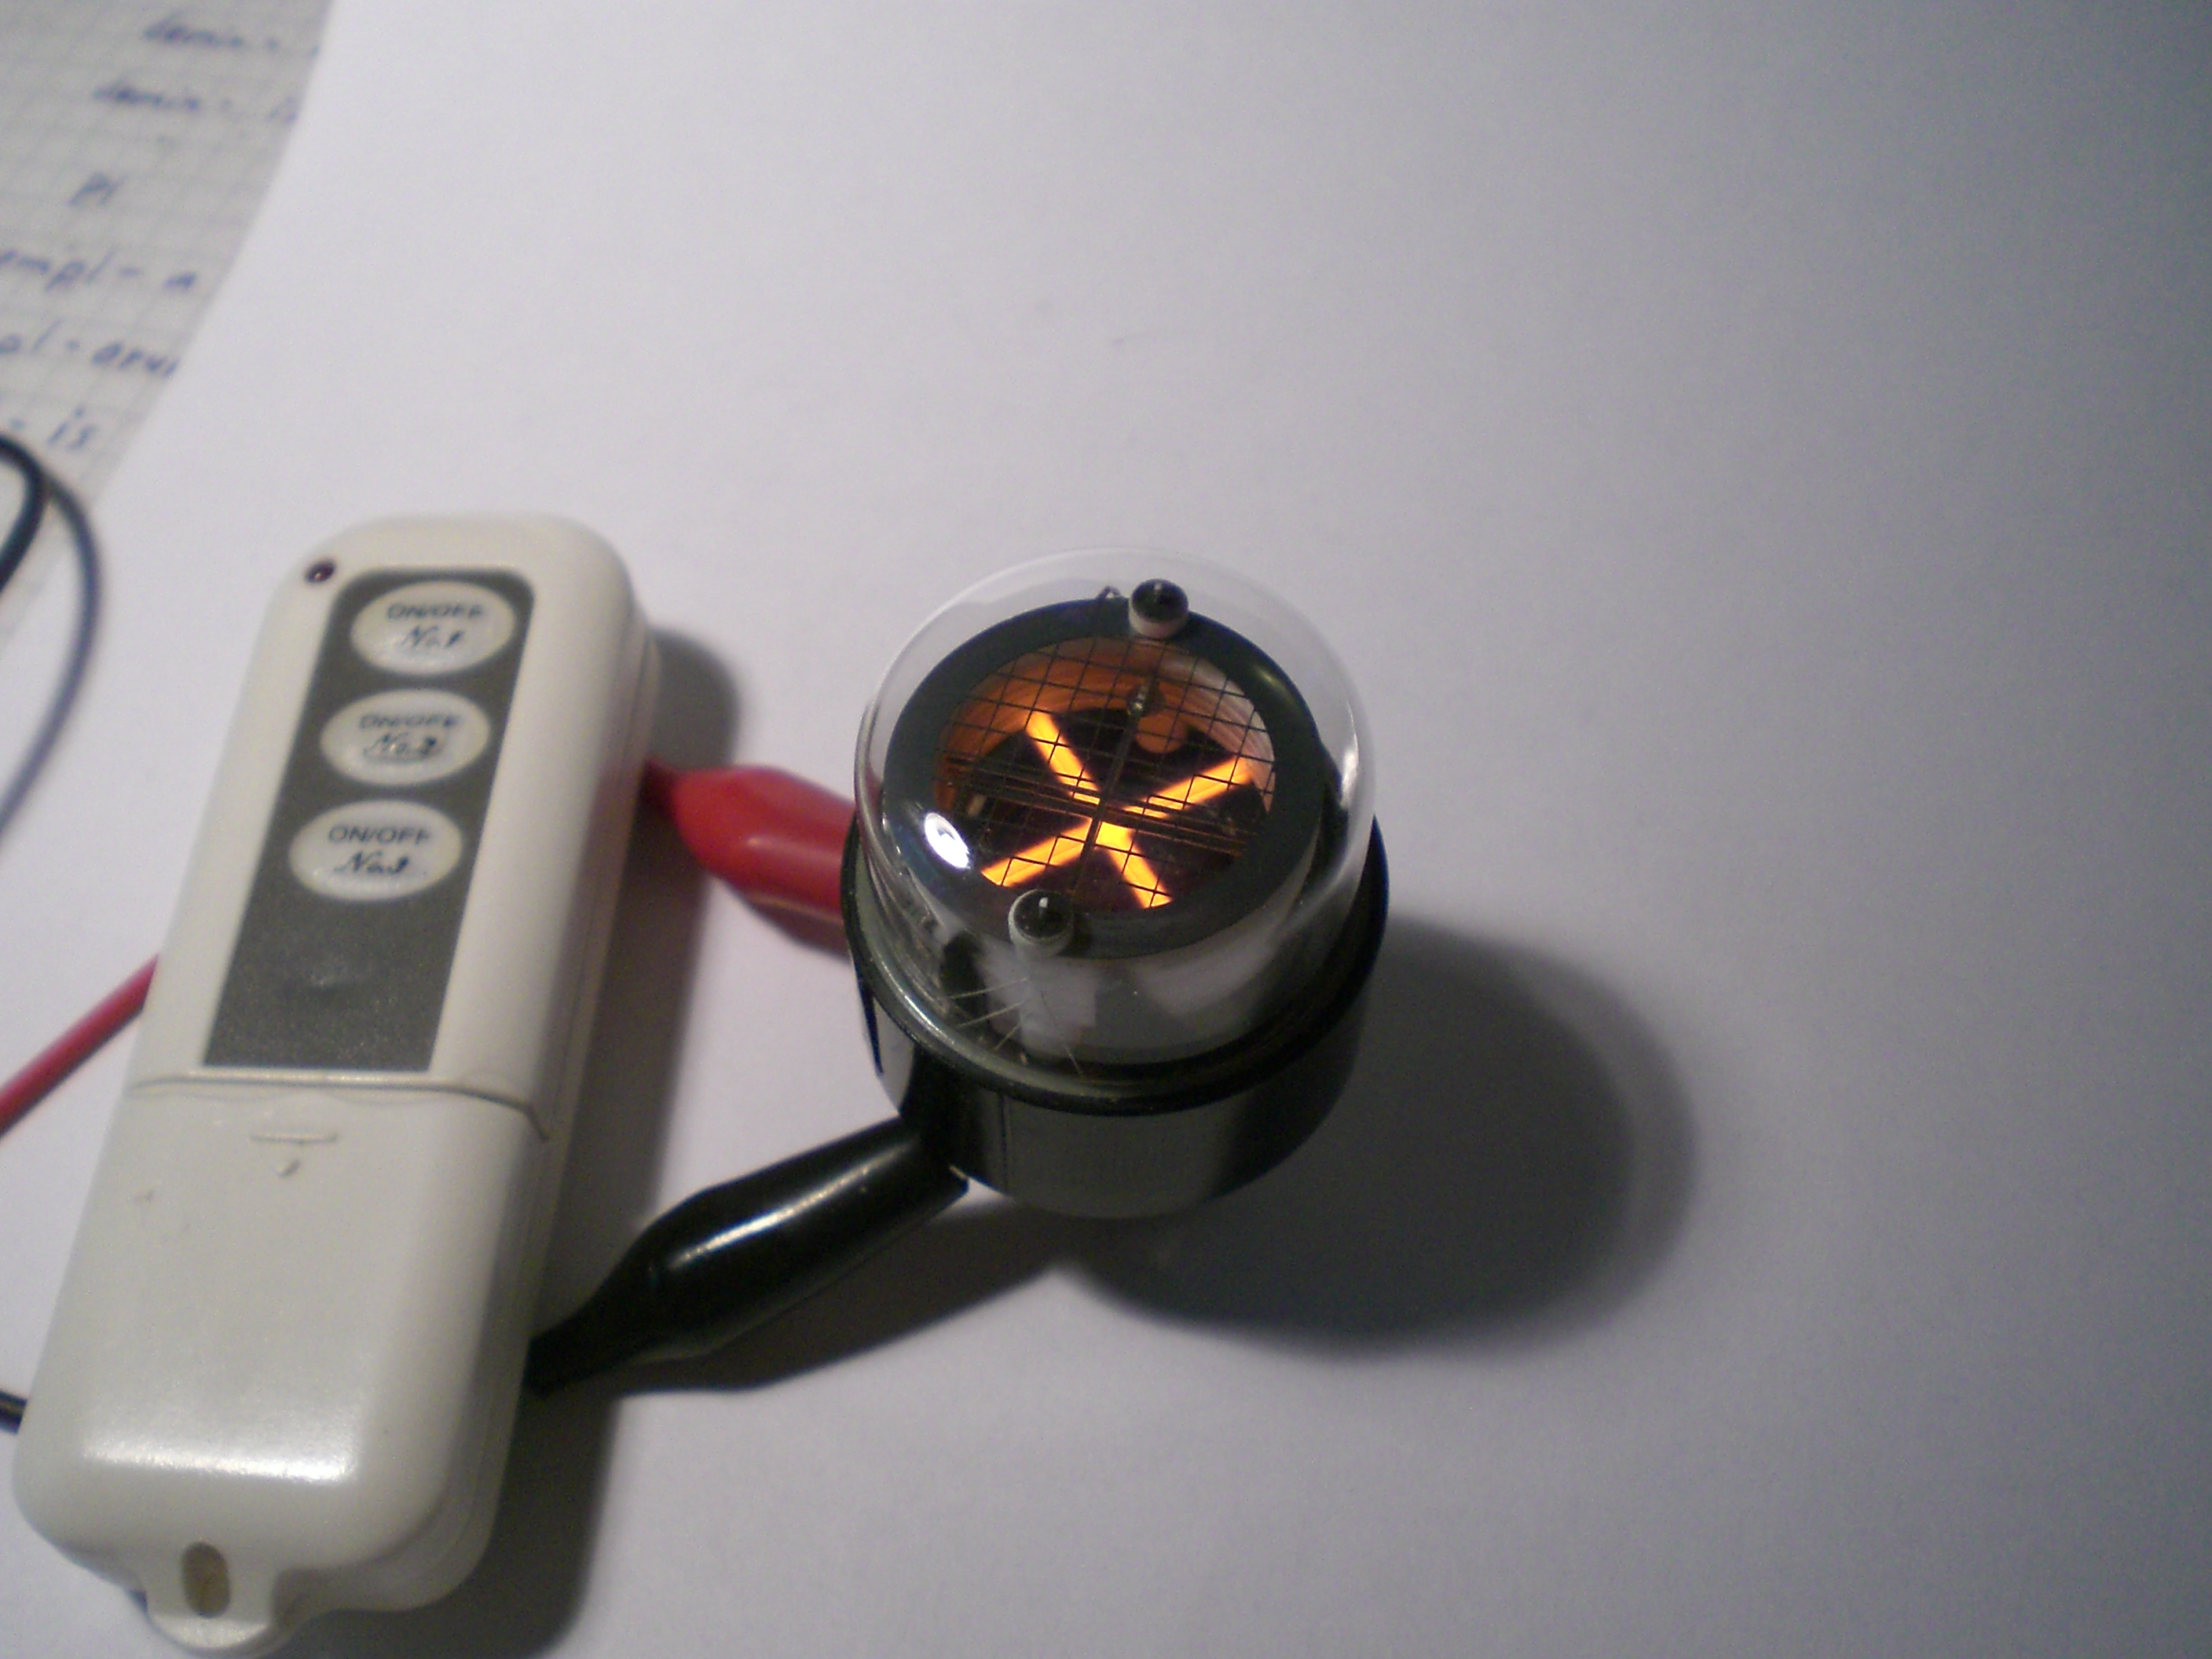
Photo #5385. Good: neon looks perfect. Bad: no stable way of fixing the angle, I need to make use of my remote. This is ridiculous!

Photo #6283. Good: neon looks perfect, focus is very nice, I am using the table as a stable camera stand. Bad: shadows are not ideal, and I need to hold the tube by hand. Not viable.

Photo #7531. Good: not a lot, honestly. Bad: it is a step in the wrong direction. Way too dim, not enough saturation.
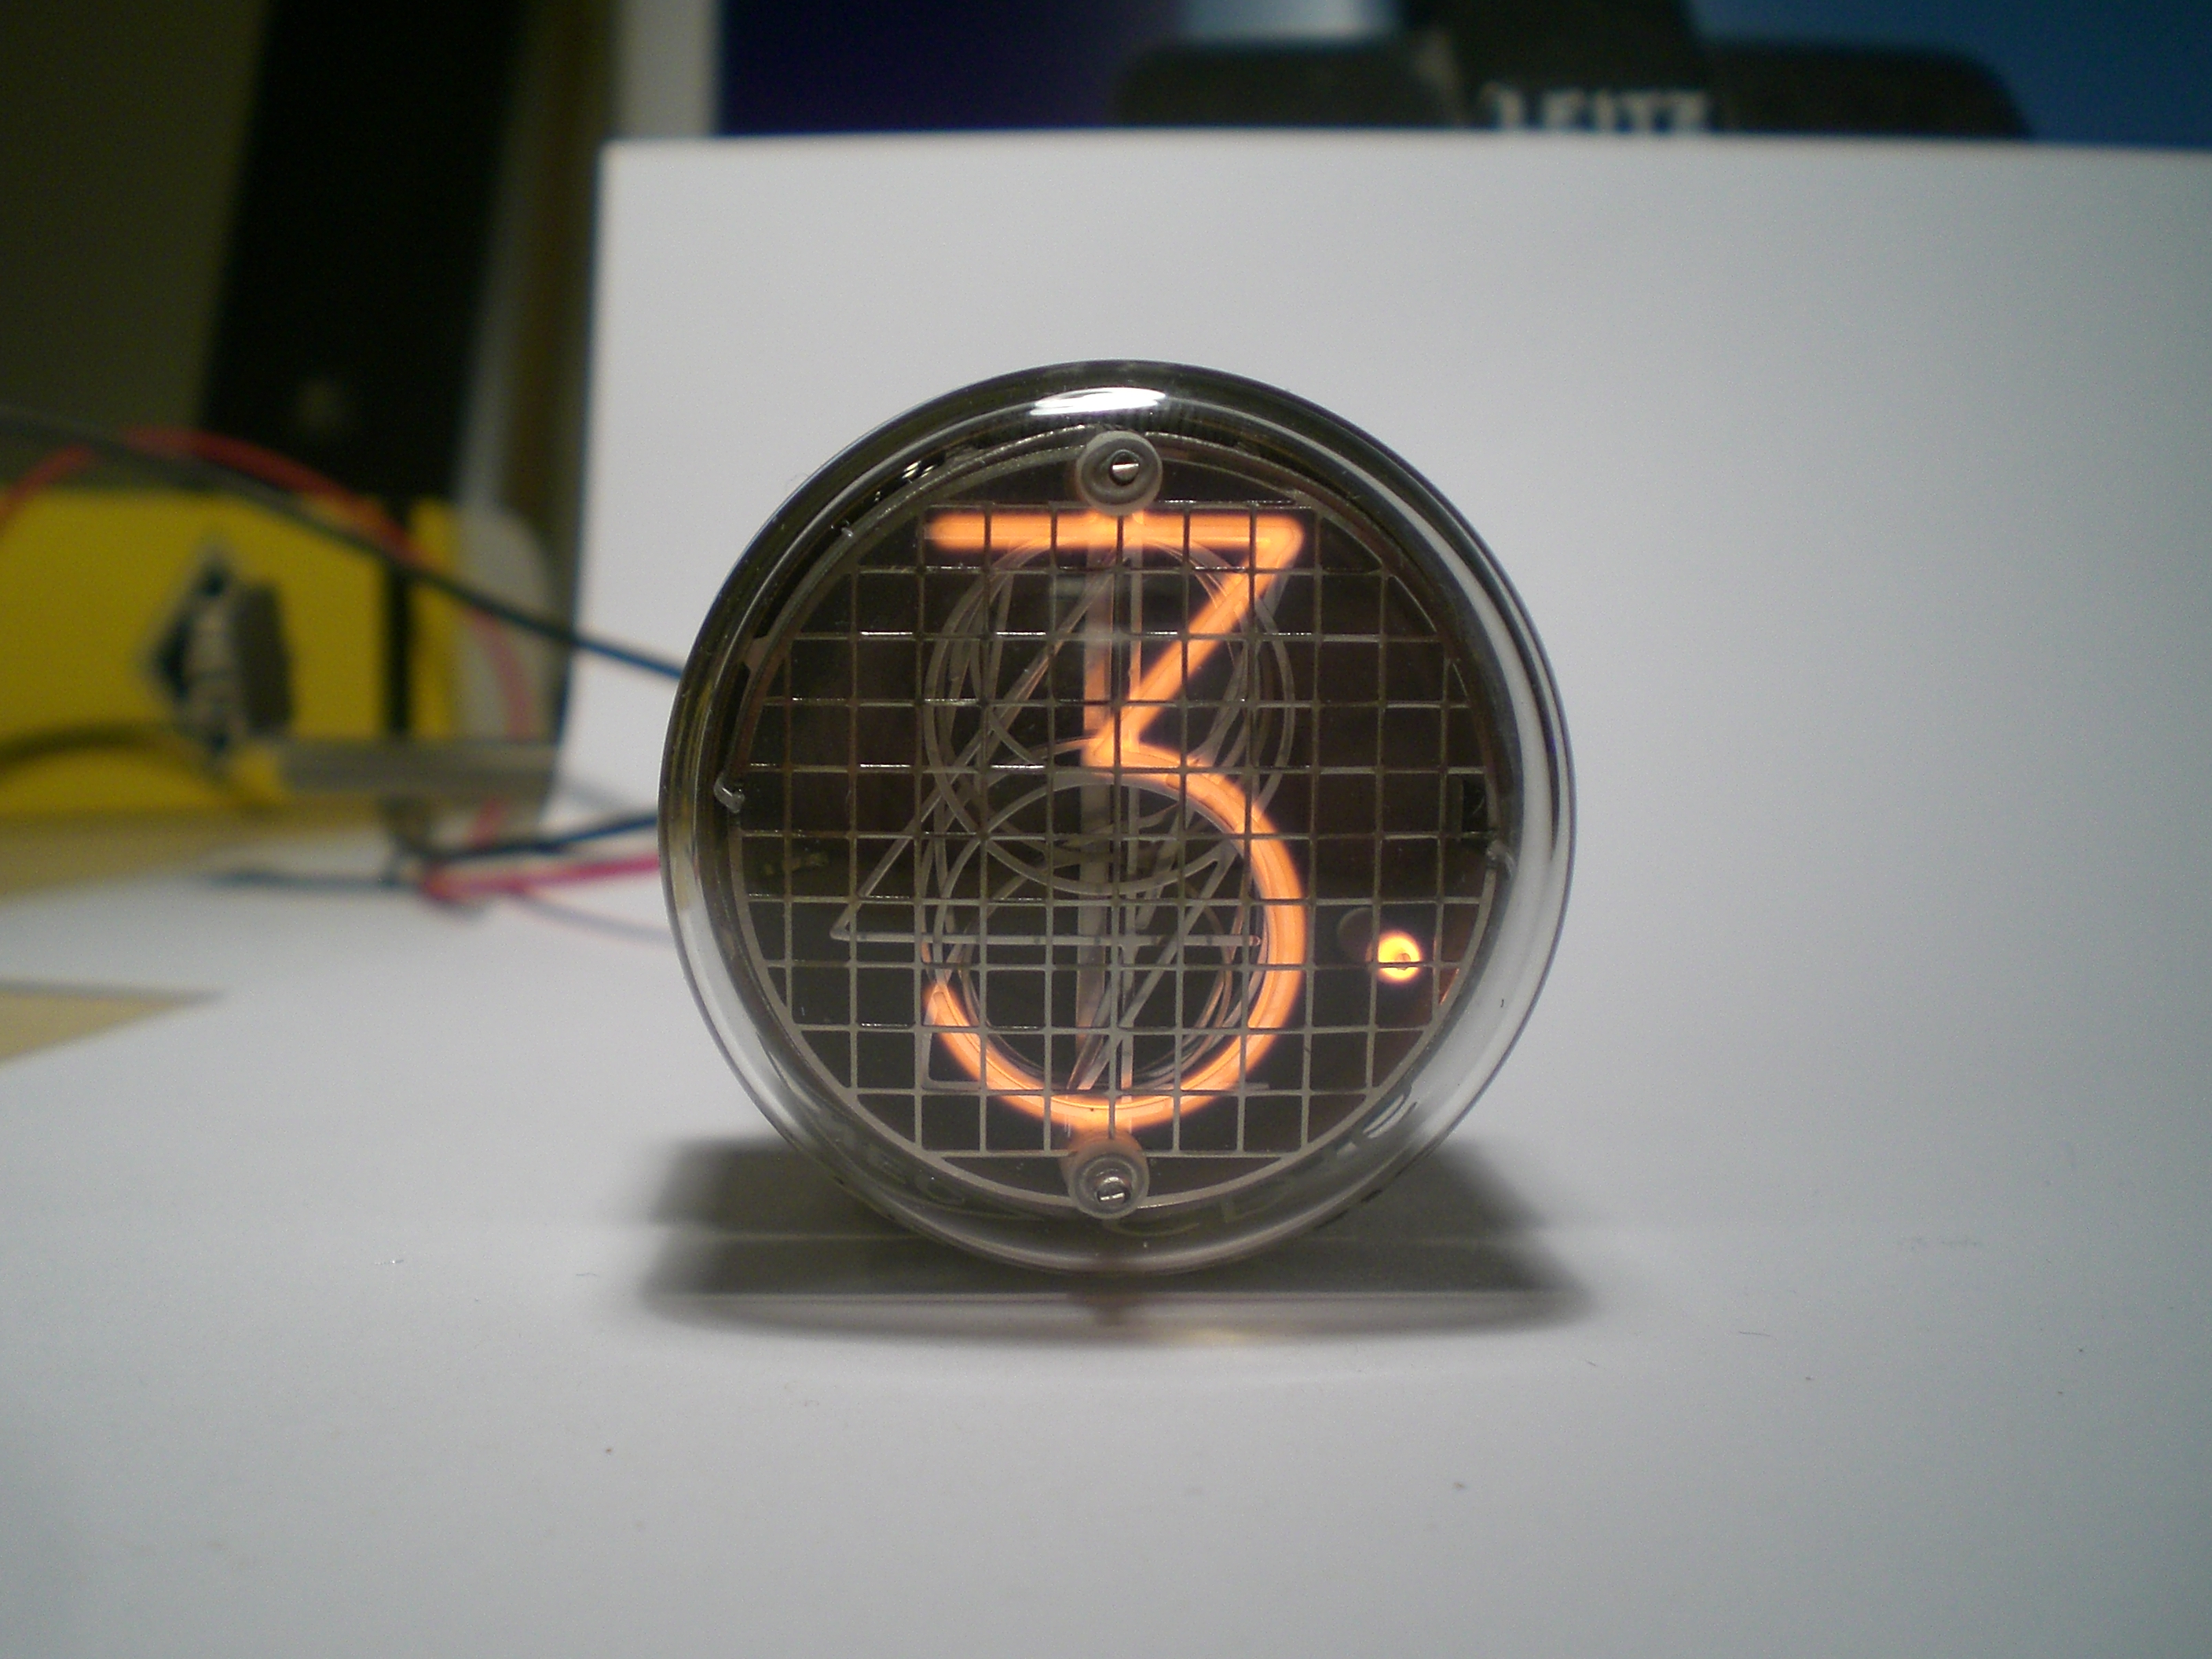
Photo #11926. Good: neon looks almost perfect. Bad: shadows are not ideal, and the background makes it difficult to crop. The angle is also difficult to adjust because I am resting the tube on the table.
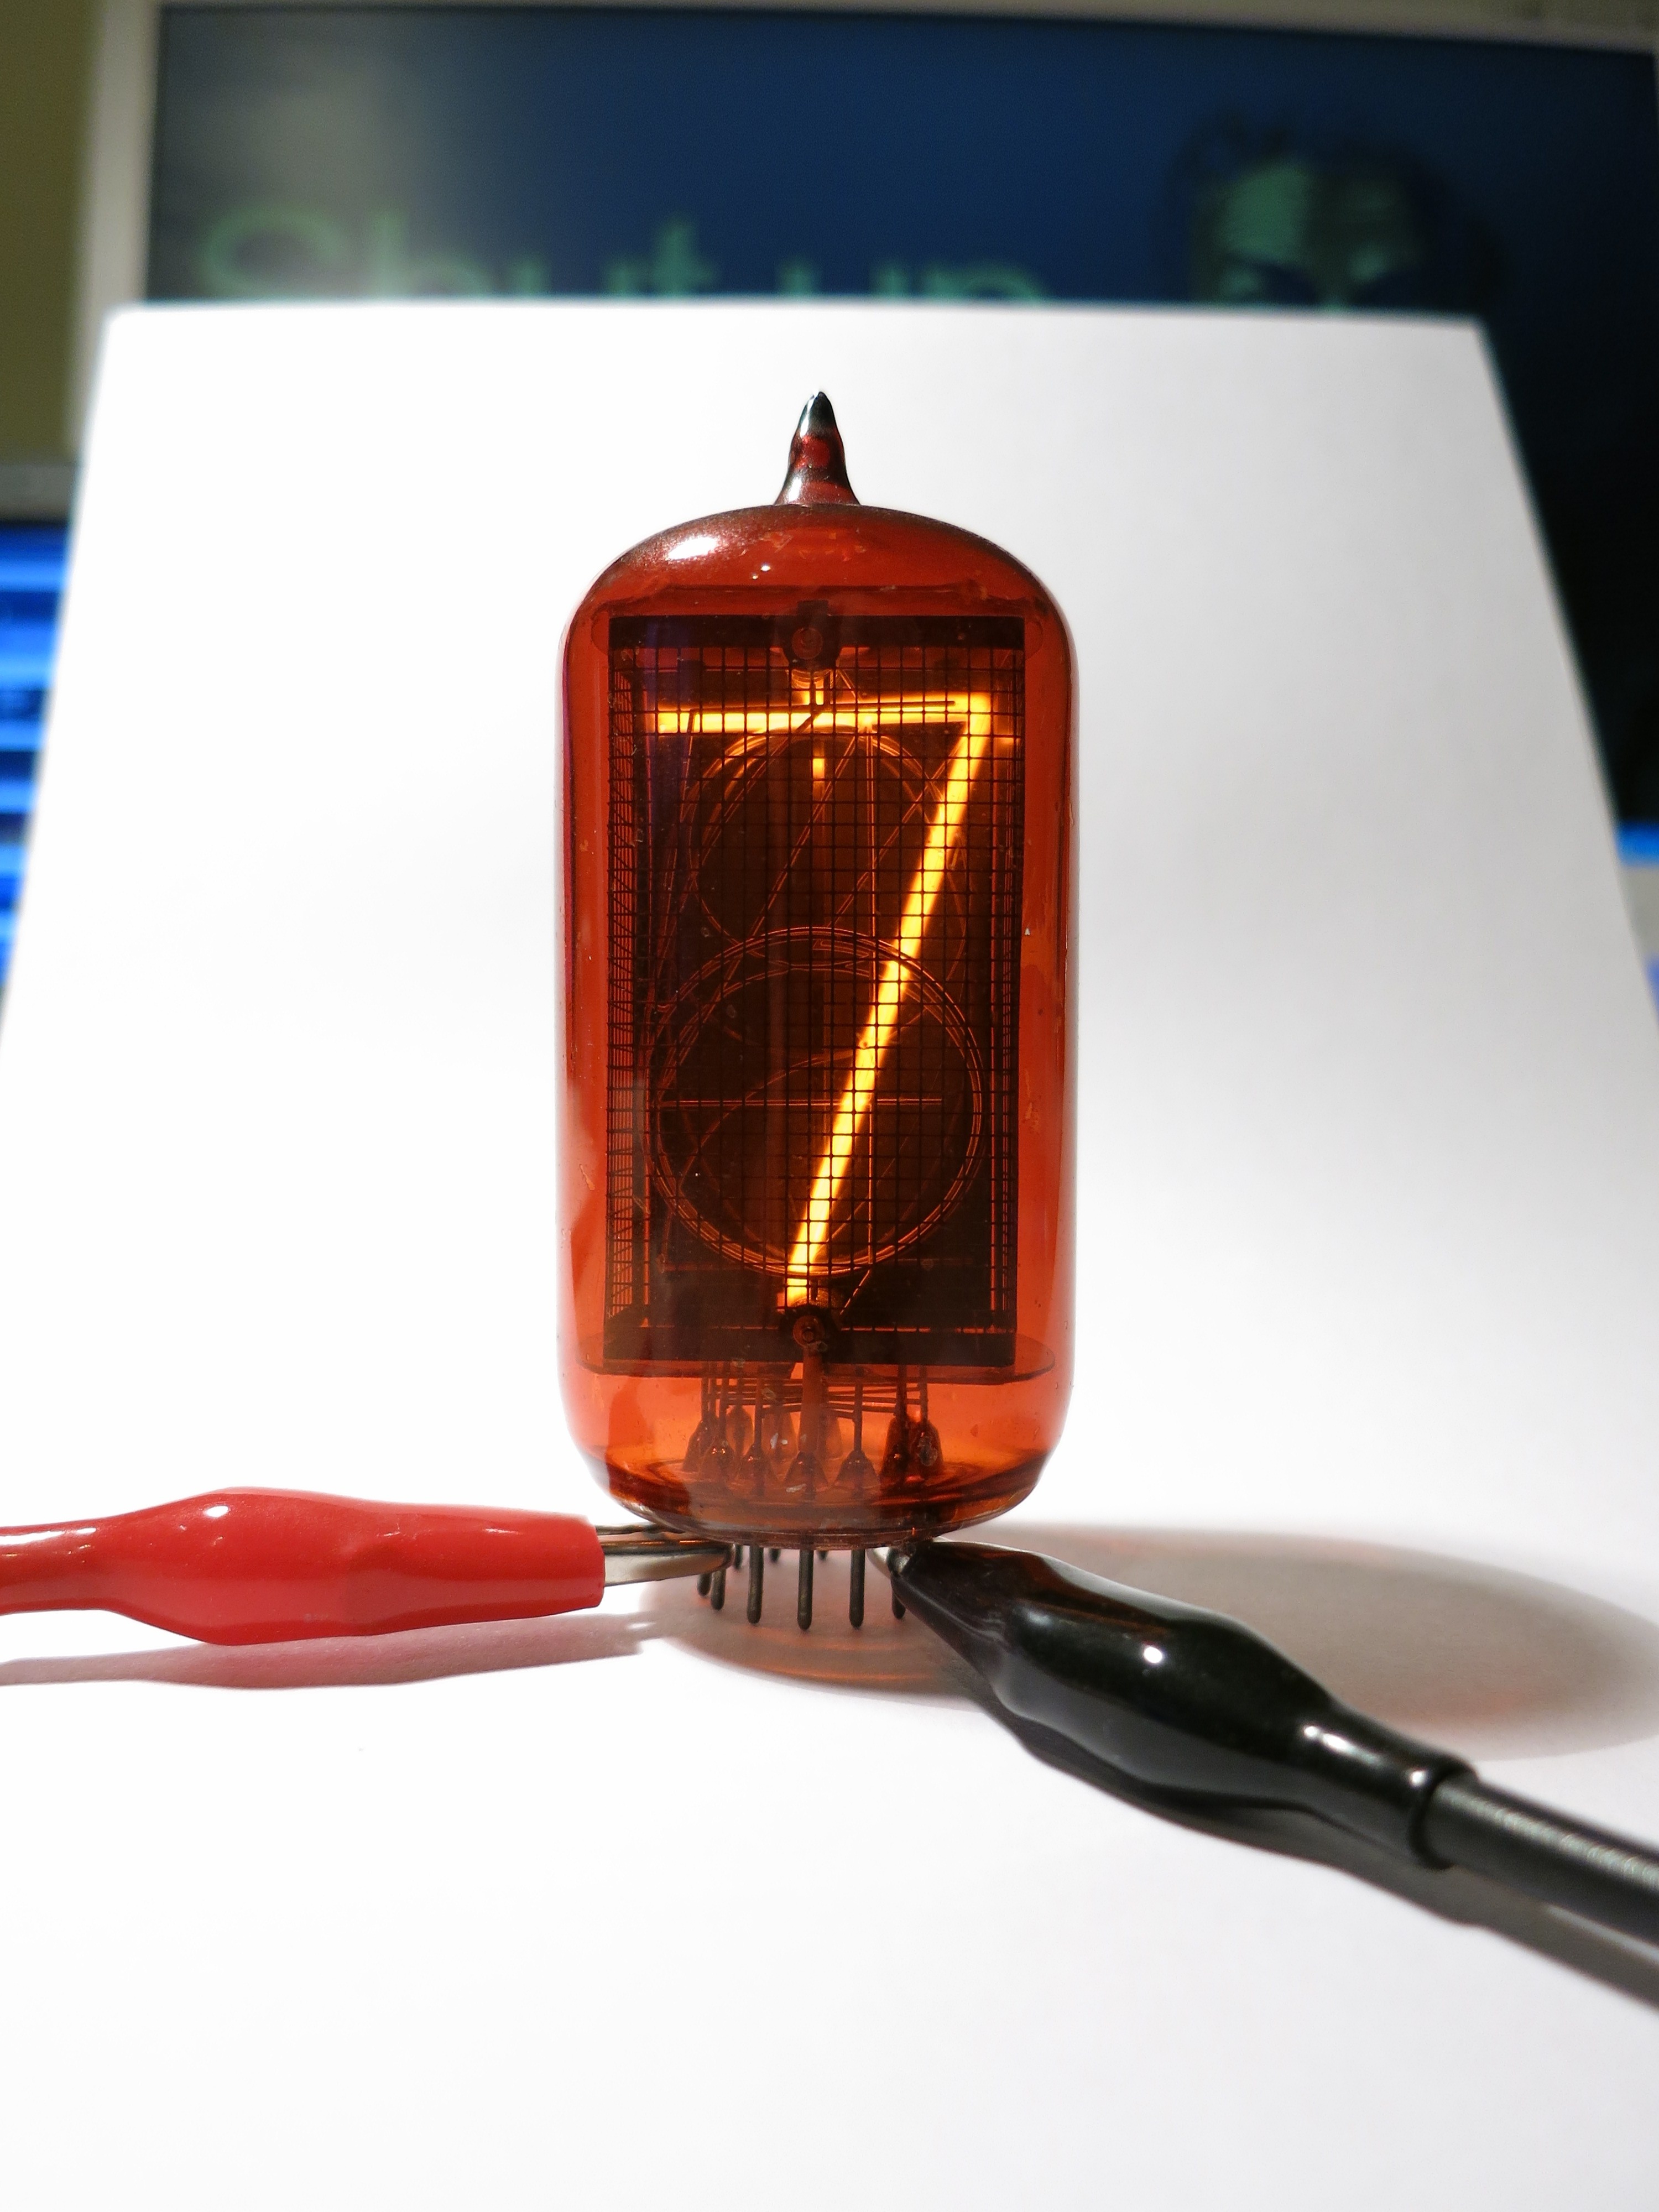
Photo #13057. New camera. Good: almost everything is perfect. Bad: The angle is not reproducible because I had to reconnect the alligator clips for each digit.
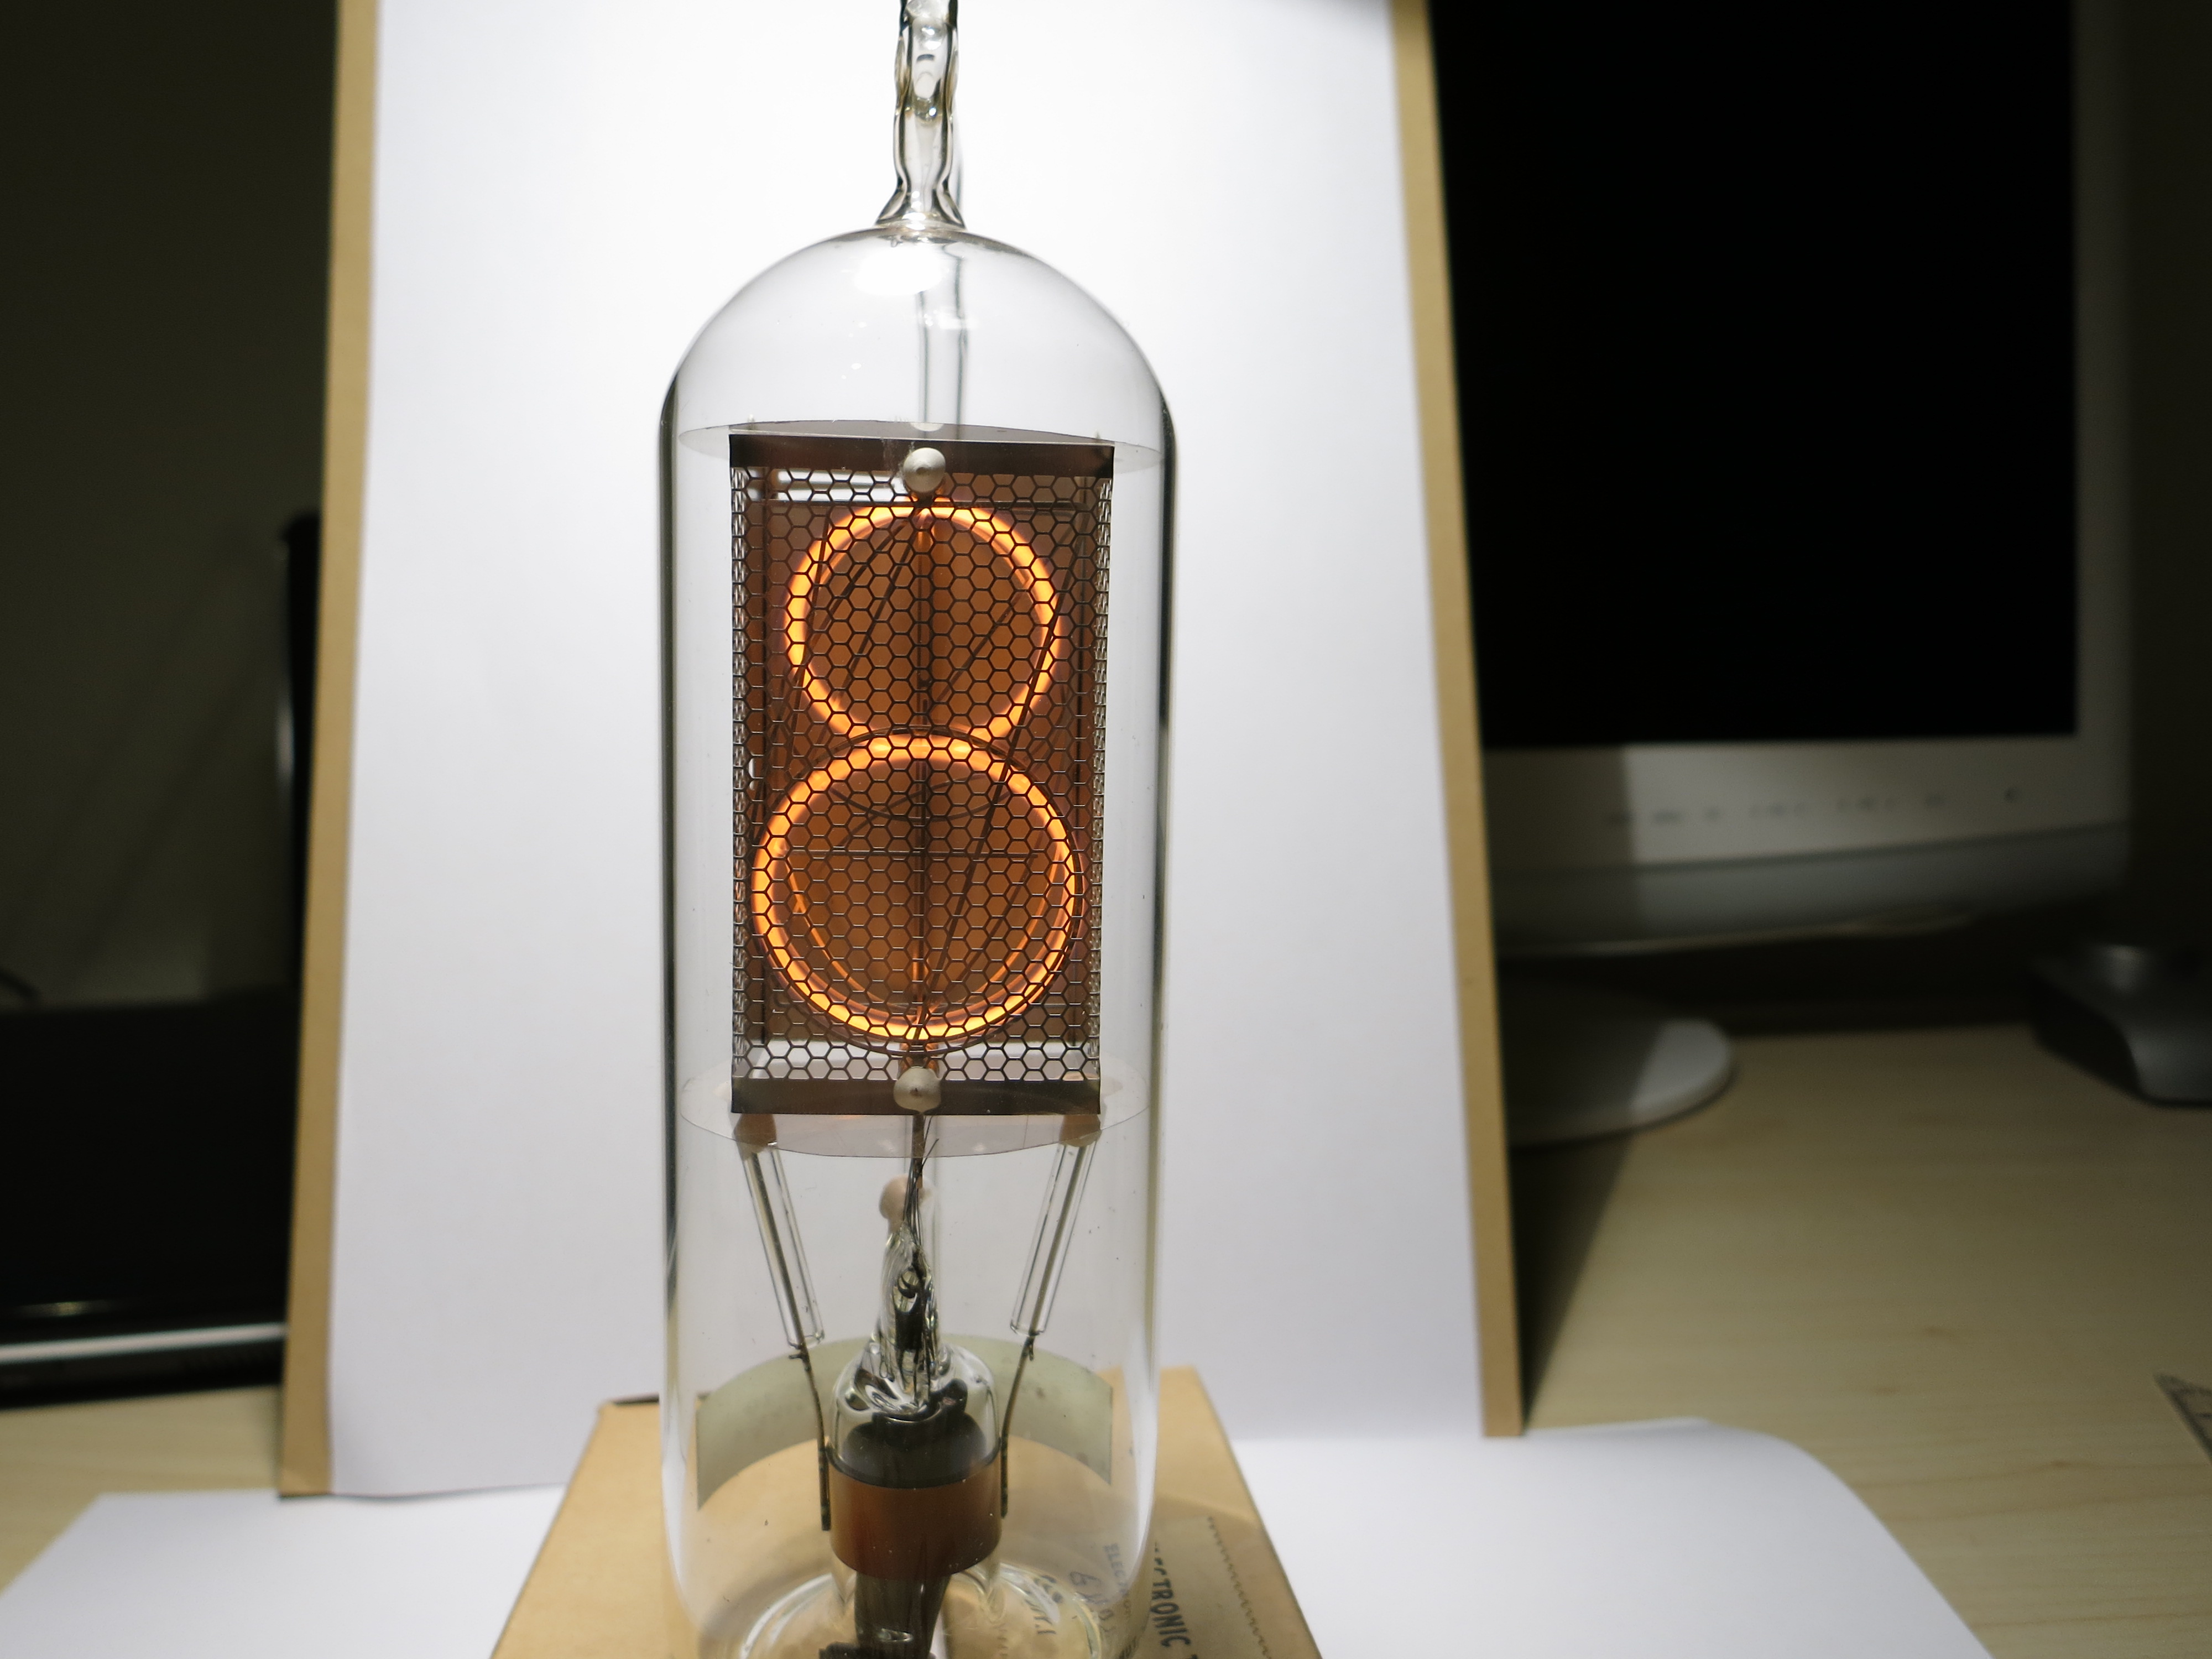
Photo #13110. Good: almost everything is perfect. Bad: The angle is not reproducible because I had to freehand the camera.

Photo #14010. Good: not a lot, honestly. Bad: Shadows, aperture makes neon look strange, angle not reproducible.
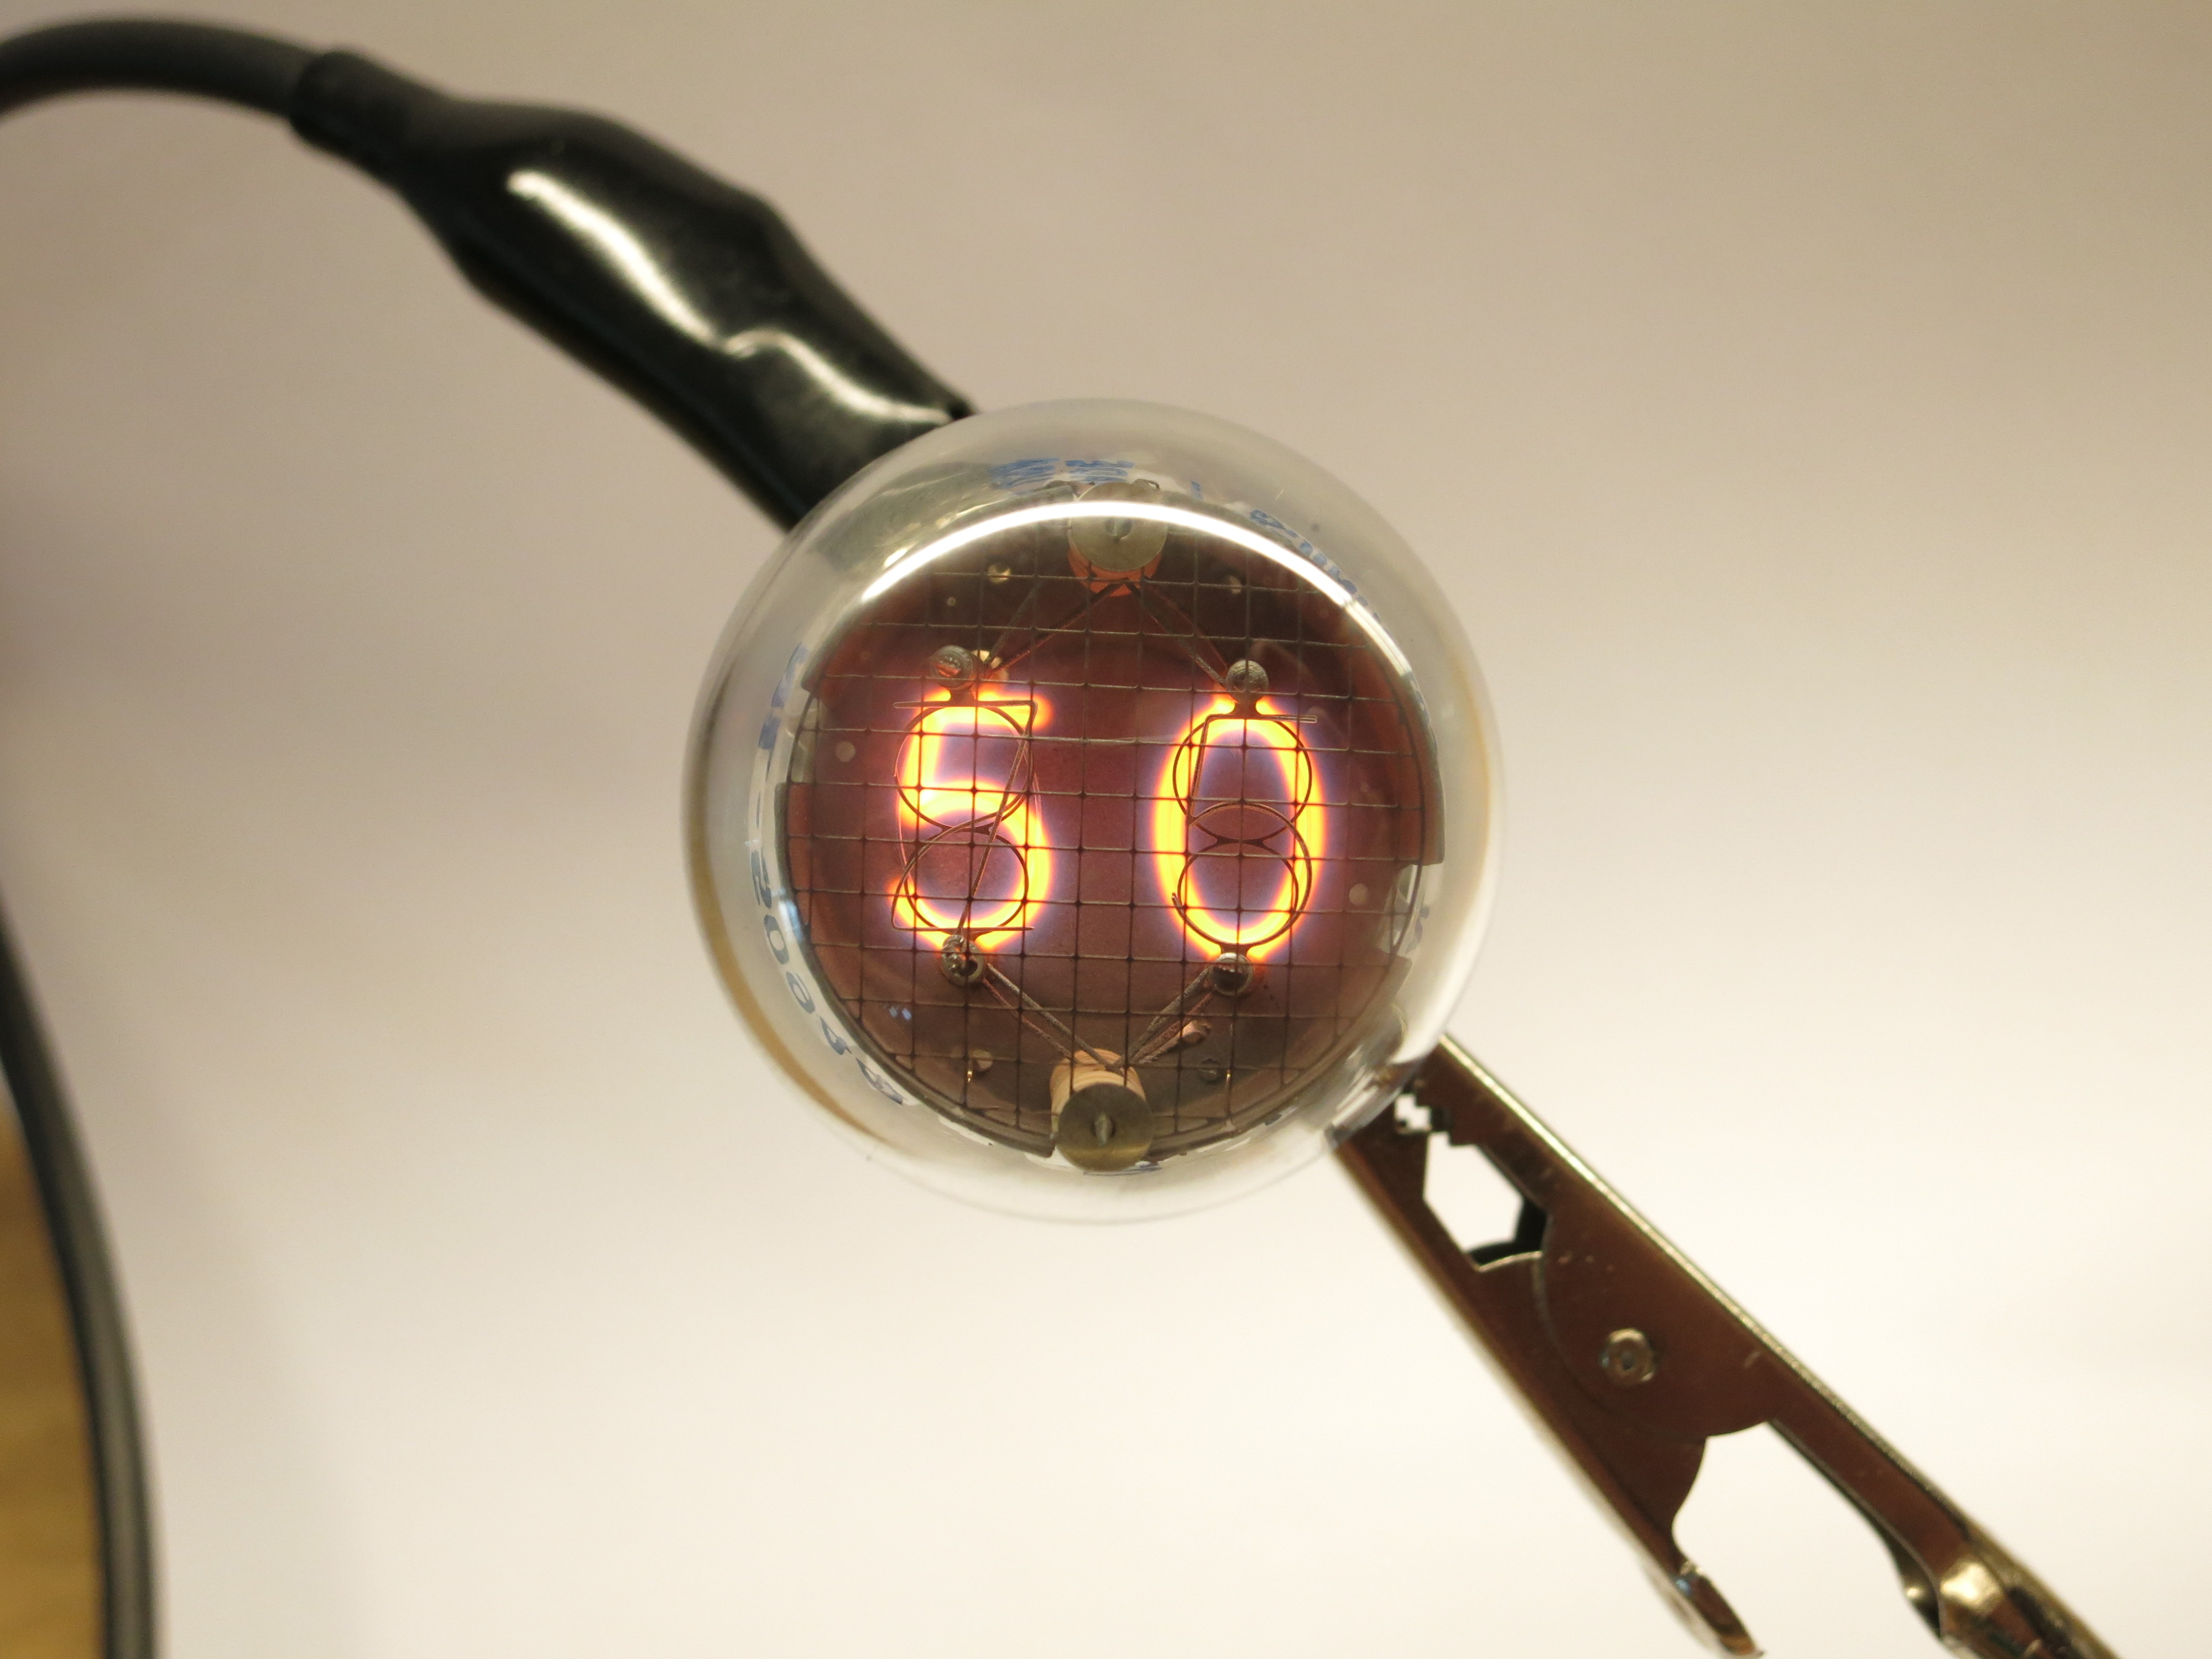
Photo #16162. Good: I used the helping hand to hold the tube, so the focus and angle is OK. Bad: White balance is off, the angle is still not reproducible, but this was the last picture I took before deciding that something had to change.

Photo #17270. Good: This picture was done a few days before writing this article. I think it is pretty decent. Bad: There is a small shadow to the left of the base of the tube, and the tube is a bit skewed.
There are a few inadequacies I have not yet been able to address:
As we have seen: I have com a long way, but obviously my technique still has still a lot of room for improvement. Maybe I will write them down here after the next 17,000 photos. See you then!